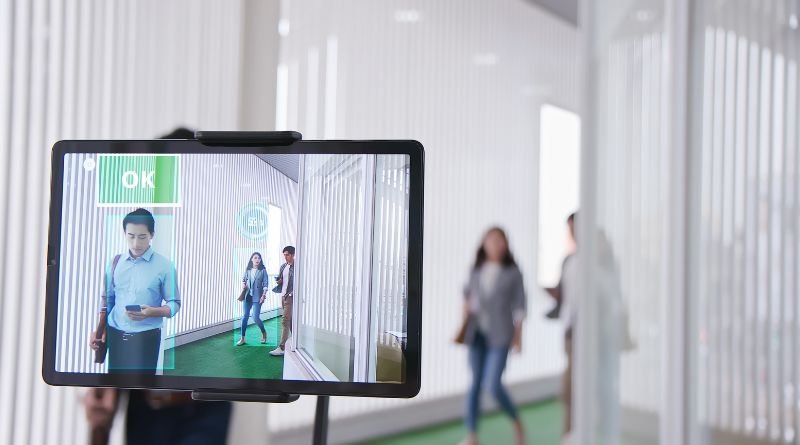
In the world of technology, cameras have been around in one form or another since the mid 1800’s. It wasn’t until 1991 that Kodak released the first digital camera and created quite the uproar with its initial sale price of $1,000! Since then, cameras have made it onto all kinds of devices, including tablets, smartphones, and, yes, even Chromebooks. While you may think that this wouldn’t make much sense (after all, why would you want to scan something on your laptop?), there are actually several reasons to do so with your Chromebook’s camera.
Get prepared
If you’ve ever needed to scan a document but didn’t have a scanner on hand, you know how frustrating it can be. Luckily, your Chromebook’s camera can be used as a scanner in a pinch. All you need is the right app. There are many apps available for free or for purchase that will turn your phone or tablet into a scanner and send the image to your computer via email, WiFi or Bluetooth. Here are some options -Cam-scanner: Not only does this app turn your device into a scanner, it also makes it easier to organize all of your documents by creating folders with different tags.
-Evernote Scannable: You can use this application to scan all sorts of documents with just one click – even ones with text (as long as they’re not too small). The images will automatically upload onto your Ever-note account where you’ll be able to access them from any device at any time.
Open the camera
If you need to scan a document, there’s no need to go out and buy a separate scanner. Your Chromebook’s camera can do the job just as well! Here’s how -Open the Google Photos app on your Chromebook
-Use it to snap a photo of your document
-You’ll be able to rotate or straighten it by moving your cursor over it with two fingers and dragging one way or another
-Use the tool at the top of the screen (looks like two arrows on top of each other) to flip back and forth between black text on white paper, or white text on black paper if you’re scanning something in color. You can also use this tool to zoom in closer to get a better look at small print
-Once you’ve scanned your document, save it from within the app and use it anywhere that accepts PDF files
-If you want to delete the file for some reason, tap Delete on the bottom right corner of the window where your file is displayed
Focus your shot
If you need to scan a document, your Chromebook’s camera can be a powerful tool. But there are a few things you’ll need to do to get the best results. To make sure that the whole page is in focus and isn’t too close or too far away from the lens, take a test shot of something that is on an even surface and then zoom in or out until it looks right. When scanning books and magazines, start by taking one photo at a time of each page, turning the book or magazine to find where the next page starts.
Then continue taking photos of all pages until you’re done. Some scanners let you preview the image before sending it to your phone so make sure this option is enabled for best results. Once you’ve finished scanning, just open up Chrome on your mobile device and tap Share > Scanner > Chrome Scans. You will see every scanned document with a thumbnail preview, as well as a list of every page scanned so that you can jump straight to any page if needed.
