If you’ve ever worked with Word before, then you’re probably already familiar with direct formatting. This function lets you format text in a variety of ways, from bold to italic and even small caps. However, when you start working with multiple fonts and sizes within the same document, direct formatting can get pretty messy and hard to read. This simple guide will show you how to remove direct formatting in your next Word document so that each font remains uniform and easy to read!
Method 1 – The Quick Fix
If you need to remove direct formatting quickly, the best way to do it is to select the text, then press Ctrl+Spacebar. This shortcut will clear all direct formatting from the selection. If you want to remove direct formatting from the entire document, simply place your cursor at the beginning of the document and press Ctrl+A to select everything, then press Ctrl+Spacebar.
Method 2 – Add Remove Formatting as a Keyboard Shortcut
Adding the Remove Formatting command as a keyboard shortcut is quick and easy, and can save you time and frustration when trying to remove unwanted formatting. Here’s how
1) Go to Tools then Keyboard Shortcuts.
2) Select the Formatting tab on the right-hand side of your screen.
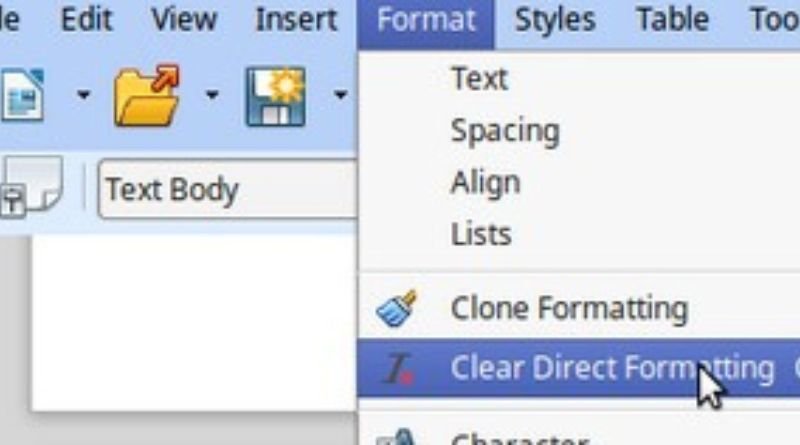
3) Under Format select Remove Formatting from the drop-down menu (you may need to scroll down).
4) Click on Add or + under Current Settings then click Save Keyboard Shortcut.
Method 3 – Copy and Paste Text Only
- Select the text that you want to copy and paste.
- Press Ctrl+C to copy the selected text.
- Open the destination document. Press Ctrl+V to paste the text into the document.
- Highlight the pasted text and press Ctrl+Spacebar. This will remove all direct formatting from the selected text and it will adopt the styles of the destination document.
- Save your changes to the document.
Method 4 – Use an AutoText Entry from Other Sources
If you want to remove the direct formatting from your document, you can use an AutoText entry from other sources. This method will strip all the formatting from your document and leave only the text. To do this, follow these steps
1) Select the text that you want to strip of its formatting.
2) Click on Create New at the top of the Ribbon, and then click on AutoText.
3) Give it a name (it is best not to call it something like Direct Text), then enter the following text: =.
4) Click on OK. Now when you select any text with this new AutoText Entry applied, it will remove all of its formattings.
Method 5 – Use the Undo History Window
If you accidentally apply direct formatting to your document, you can use the Undo History window to remove it. To do this:
- Press CTRL+Z to undo the last action.
- Click the File tab, and then click Info.
- Under Info, click the Recent changes icon, and then click View all recent changes.
- Select the check box next to the change that you want to remove, and then click Revert > Revert Selected Changes.
Section 6 – Understanding why direct formatting was added
When you first open a new Word document, it will have direct formatting applied to it. This is because the Normal style is set to automatically apply direct formatting. The Normal style is the default style for all new documents, and it can be found on the Home tab.
Section 7 – Use AutoCorrect for Common Text Changes
If you’re using Microsoft Word and you want to remove direct formatting, there are a few ways you can do it. One way is to use the AutoCorrect feature. To do this, go to the File tab and click on Options. Then, click on Proofing and scroll down to the AutoCorrect options. From here, you can select which options you want to turn on or off. Another way to remove direct formatting is to use the Clear Formatting command.